Hydrolab Protocol:
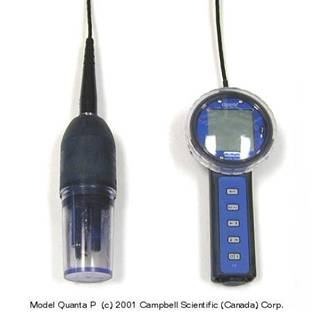
At each of our sites, we used a Quanta Hydrolab (Fig. 1) to take water chemistry measurements. The Hydrolab collected temperature, specific conductance, dissolved oxygen, pH, percent dissolved oxygen, and turbidity data. These six measures were measured with the Quanta Hydrolab and recorded on a field data sheet until later entry into a database. Depth along with latitude and longitude of each site was recorded using the GPS onboard.
The study sites consisted of a 100 meter reach and within each site, water chemistry points taken. At the middle of each reach the boat would drop anchor and begin collecting water chemistry. A GPS point would be taken and the HydroLab would be placed in the water and given time to stabilize. (appx 30 seconds) Once stabilized the data would be recorded on a field data sheet and then placed in a database at a later time.
*Repeat the same procedure at the middle and end points of the site*
Fig. 1: Quanta Hydrolab
River Surveyor Protocol:
At each of our sites, we used a
Sontek River Surveyor (Fig. 1) to study the contour of the bottom, as
well as flow and discharge of the river. The River Surveyor is attached to the
boat by clamps and the sensor sits ¾ of the way in the water. This ensures that
the sensor will stay in the boat at all times. At each of our sites, we ran a
transect across the entire river using the River Surveyor (this should be
conducted in as straight a line as possible.) This will vary due to water
conditions
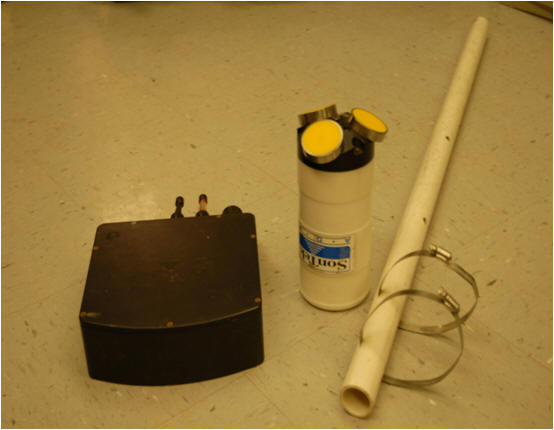
![]() River Surveyor Sensor
River Surveyor Sensor

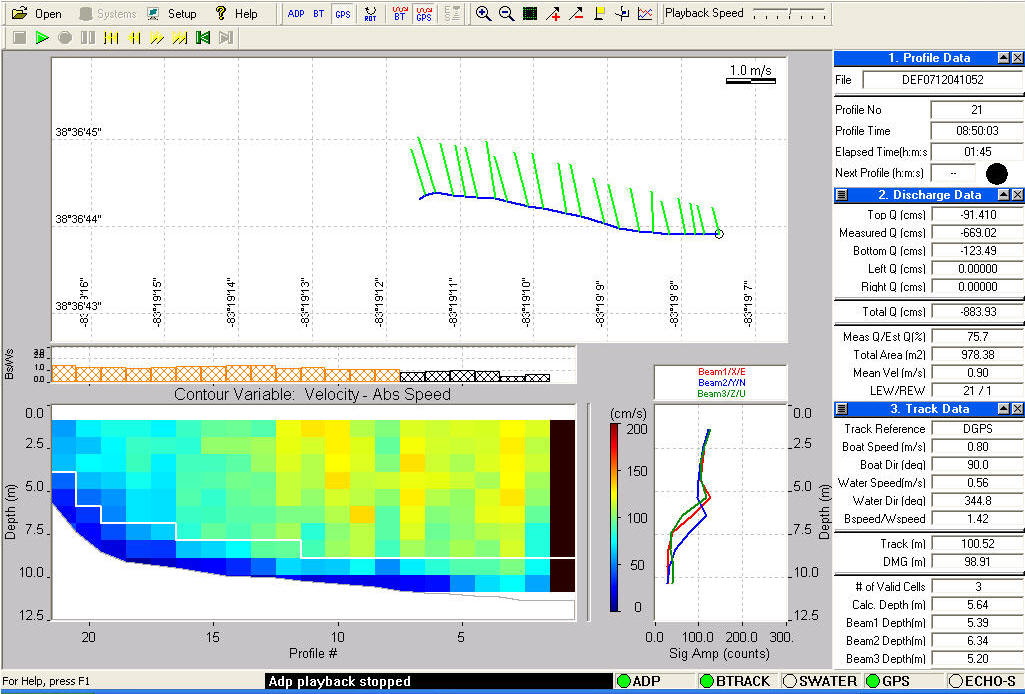
The boat captain placed the boat on either the left or the right descending bank and marked the point on the onboard Garmin GPS unit. Once the point was taken the surveyor would start recording with the River Surveyor. Once this is done the boat captain would slowly start driving the boat across the river. It is best if the transect is in as straight a line as possible, but as mentioned above, this will vary due to water conditions. As the boat makes its way across the river, the captain will be tracking the boats progress by taking points on the Garmin GPS unit. This will allow the river surveyor data to be placed on a map at a later date. A point was taken approximately every 5 meters. The file name of the transect and the corresponding GPS points were recorded on a field data sheet. The transect was run until the boat reached the other descending bank where the recording would be stopped.
Benthic Trawling Protocol:
Gear Type:
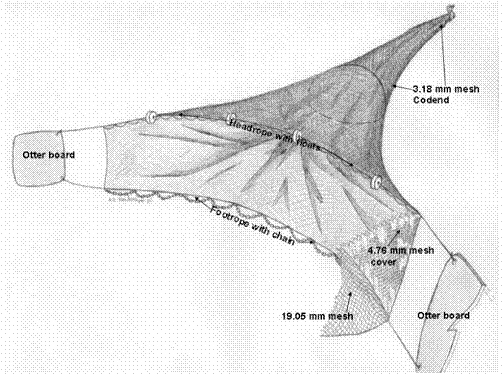
The Missouri-type 8 ft. wide trawl design described by Herzog et al (2005) shall be the standard trawl employed during these surveys. The trawl’s cod end is manufactured of 2.14meters (7.02 ft) long 1.5 mm (1/17 in) diameter nylon twine with 19.05mm (3/4 in) bar mesh and is lined with 3.18mm (1/8 in) ace-style mesh. Alternative specifications for the outer shell may include 4mm x 18ply (or an equivalent) mesh using crossover stitched raschel. The body is manufactured with No. 7 (1-3/8 in. sq. mesh) or No. 9 high density sapphire polyethylene netting and the bag is manufactured with either No. 12 (1-1/4 in. sq. mesh) or No. 15 HDPE netting. The two trawl boards are 40.64 cm (16 in.) by 34.13 cm (9.5 in.) and equipped with 1.59cm (5/8 in.) diameter twisted nylon tow lines 30.48 m (100 ft) in length. Trawl doors can also be 20” x 12” with ½”x 2” steel runners.
The footrope is 1.59 cm in diameter and 5.48 m (17.9 ft) long. The trawl chain is 44 mm (1 3/4") L x 25.4mm (1”) H x 6.4mm (1/4") diameter. Ideally, the trawl shall be towed from a Jon boat 5.49-6.4m (18-21 ft in length). The trawl shall be attached to two hard points on the boat with 9.5mm (3/8in) polydacron line. To effectively use the trawl, towlines of various lengths should be used, depending on water depth. In water depths of 5m (16 ft) or less, 15m (50 ft) towlines should be used and at water depths between 5m (16 ft) and 10m (33 ft) towlines 30m (100 feet) in length should be used.
The length of line utilized should be recorded on the data sheets provided in addition to river depth at the time of sampling. A small float should be attached to the end of the codpiece with a braided nylon rope. The rope should be longer than the maximum depth to be sampled. In the event the trawl has to be disconnected from the boat, the float shall mark the location of the trawl, facilitating recovery.
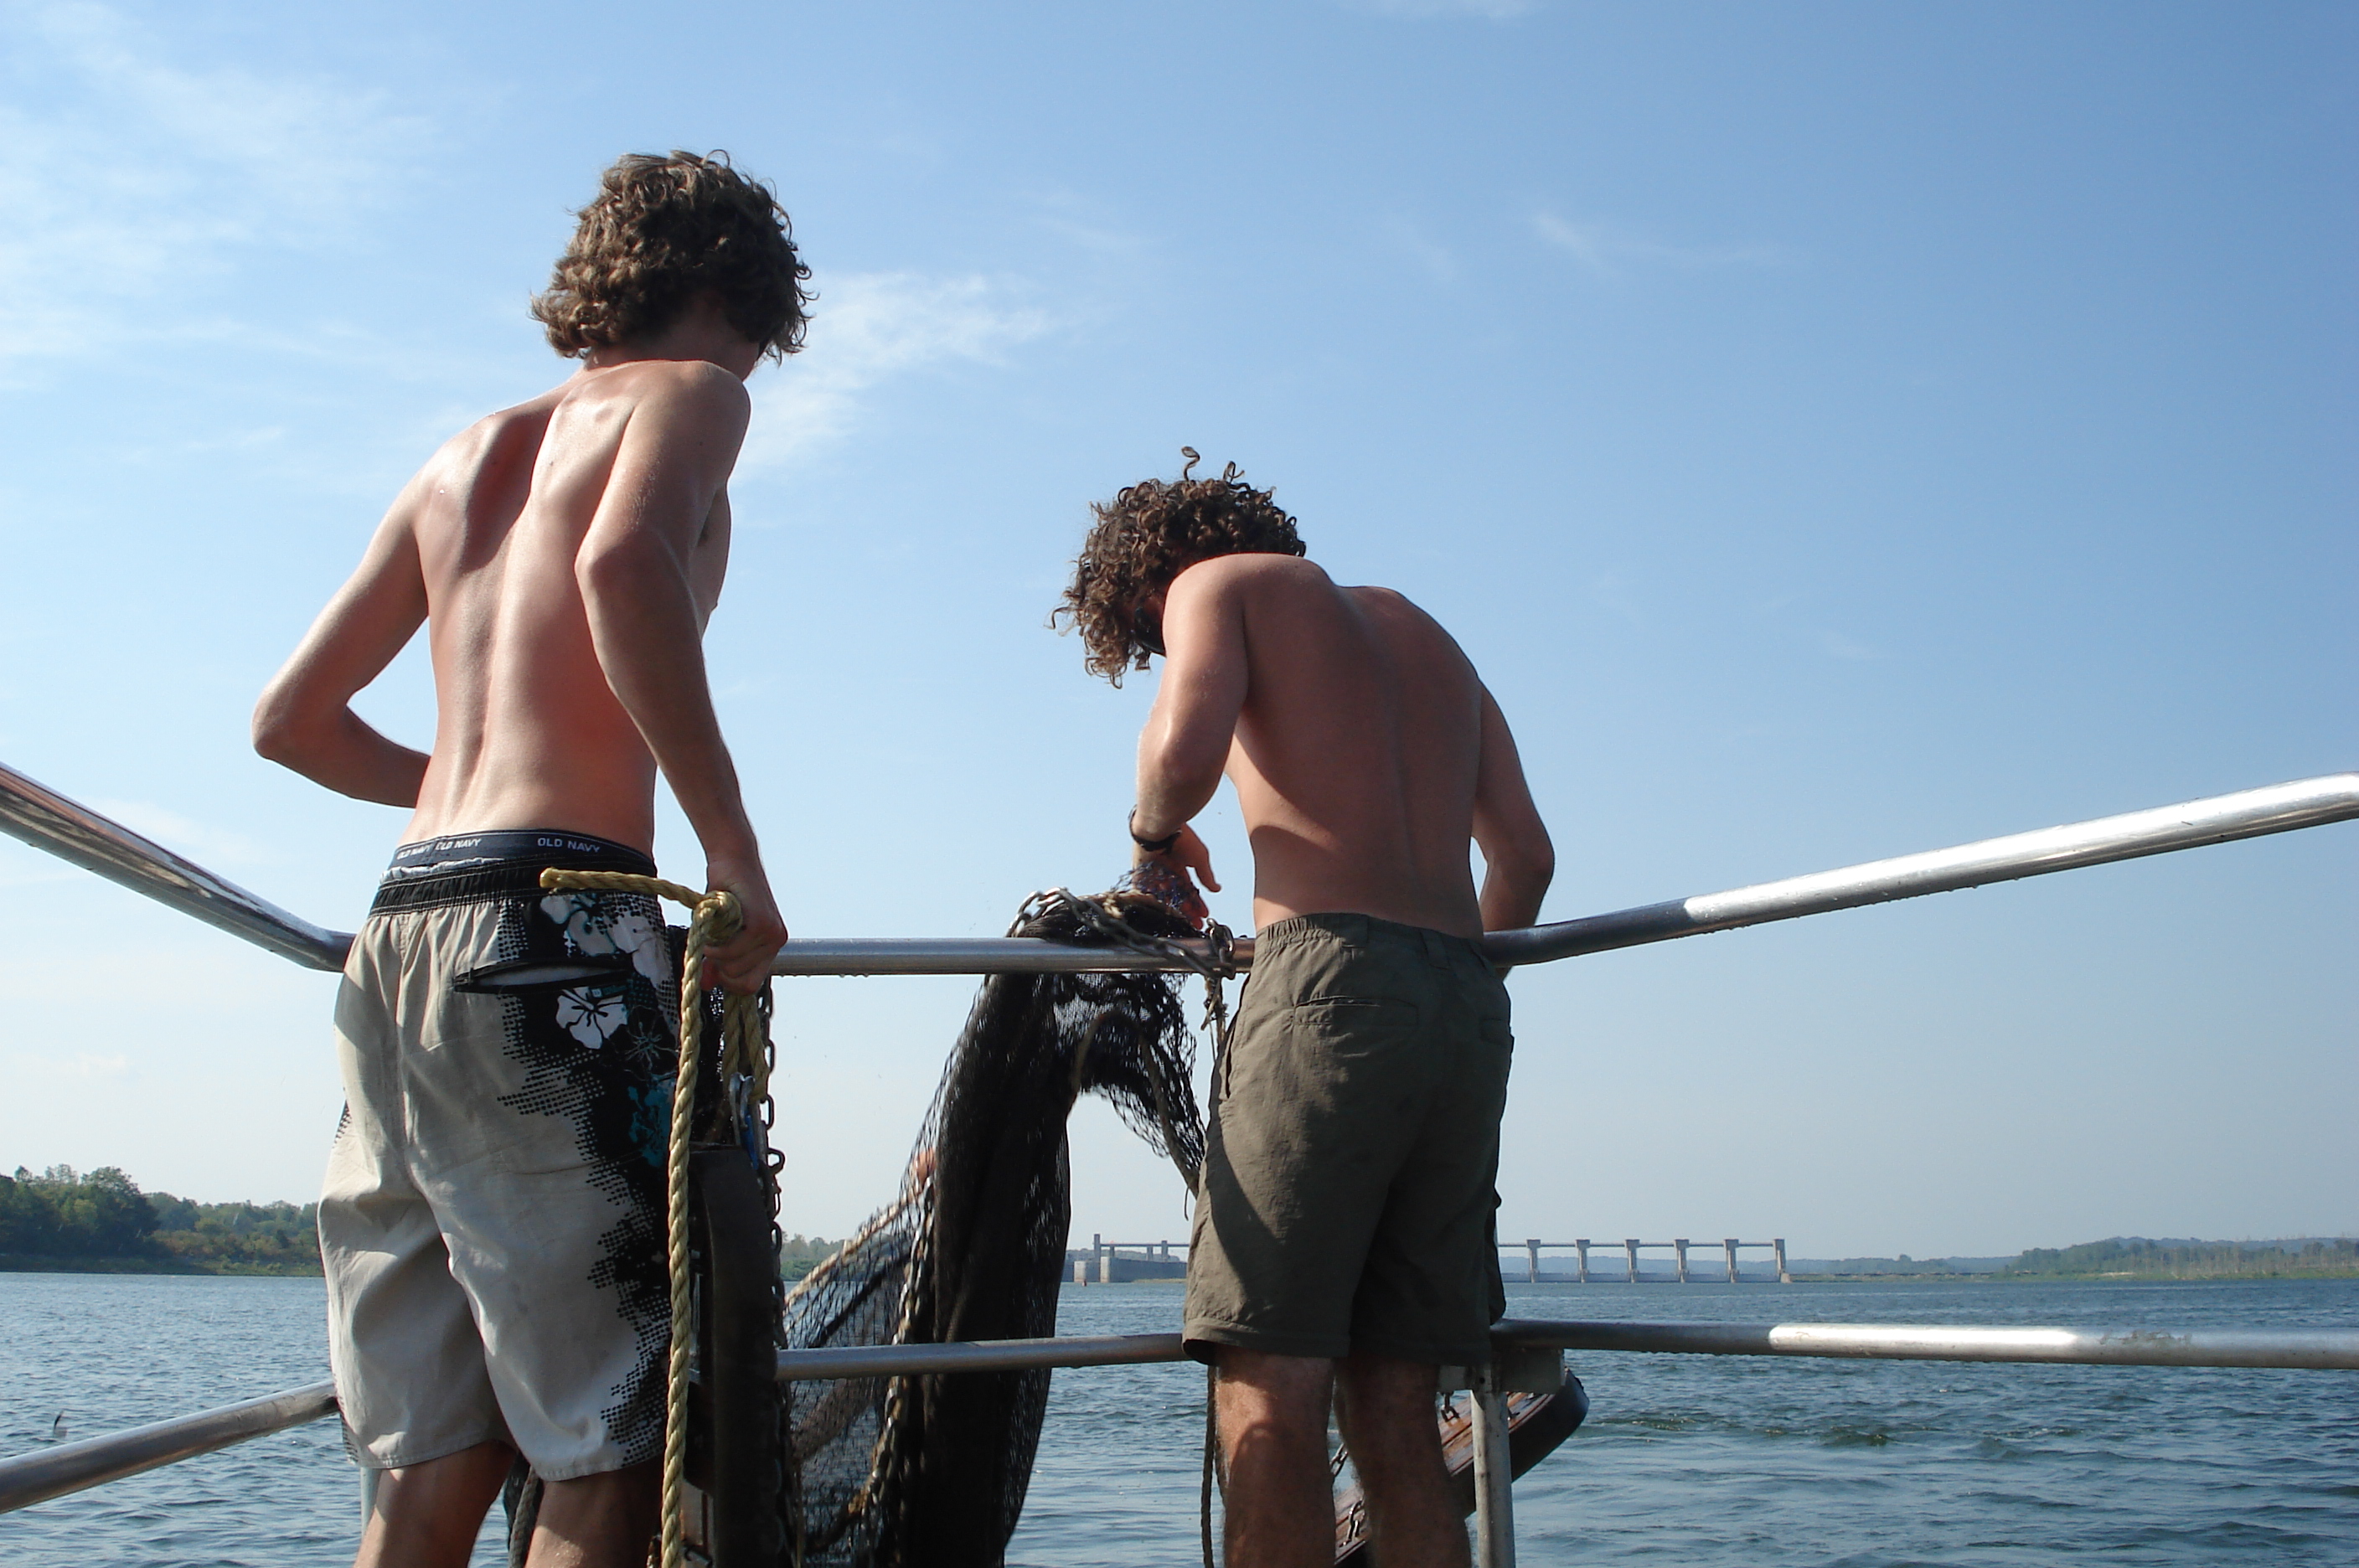
Trawling was performed at each site using the modified Missouri trawl. The trawl was attached to two hard points on the boat using 9.5 mm polydacron line. These lines were attached to the otter boards (see photograph). The trawl was pulled in the downstream direction along each site two times for 2 min each time. The trawl was deployed overboard from the bow of the boat as well as retrieved from the bow. As the boat operator moves the boat backward, the technicians will lower the otter boards to the bottom of the river where the rope would be secured to railing on the bow. Once this was done, the boat operator marked a GPS point and the 2 min interval would begin. After 2 min, another GPS point would be marked and the trawl would be hauled into the boat. Contents from each trawl were separated and recorded. Length of line released as well as depth was recorded.
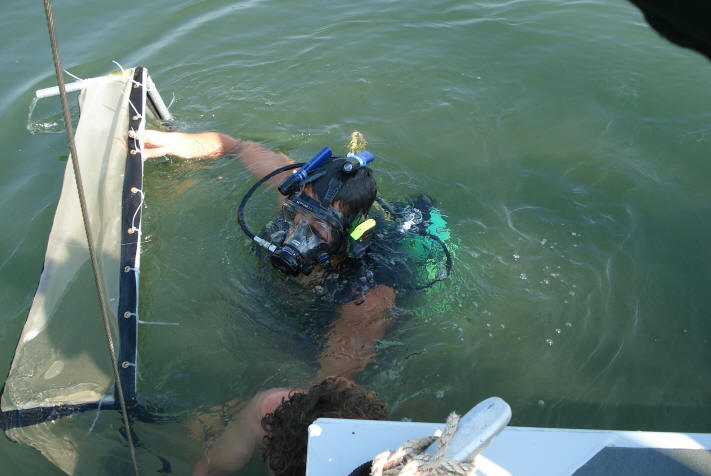
Diver Protocol
Underwater Sampling Procedures
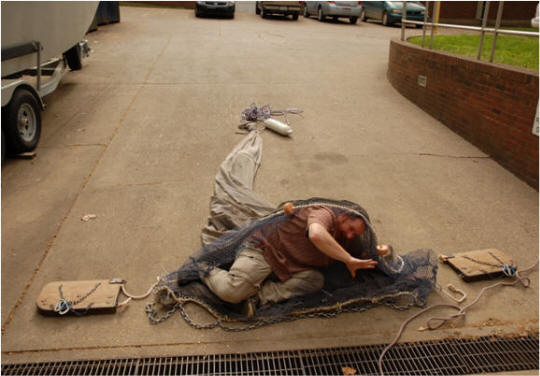
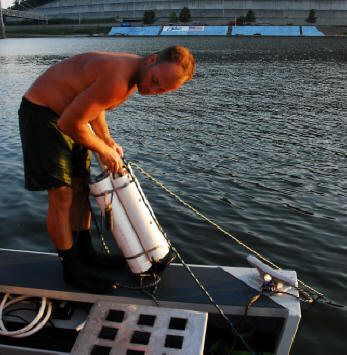
A large 75-95 lbs anchor array will be deployed at the stern of the boat holding the boat stationary. This anchor array will consist of a large single weight with four small bags containing a single rope line in each. Each rope line will be a set distance (10m) and connected to a 3 lb weight. Lines will be set according to flow, using flow as a reference direction.

Anchor array
Once the diver is properly rigged they will follow the line down to the anchor. The diver will be attached to a safety line that also will have a dissolved oxygen probe cable connected. Sampling will begin at the end of each transect at the 360, 270, 180 and 90 degree vectors. An underwater compass will aid in laying transects using flow as a normalizing degree value (Figure 2). A 1 square foot surber sampler (Figure 3) will be placed at the end of each transect with opening facing toward flow.
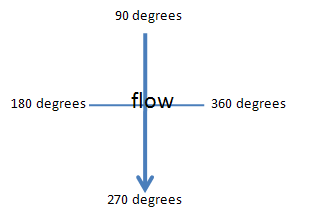
Flow: Vector Chart
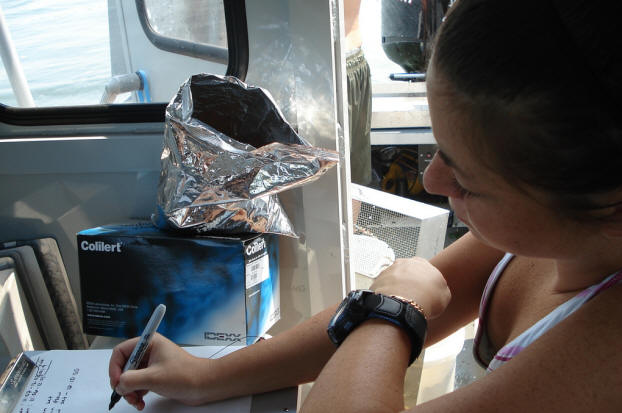
Bacteria and E coli
At each site a surface and bottom bacteria sample will be collected. The diver will place an empty 100 ml IDEXX sample bottle in their Buoyancy Compensator Pocket (BCD). Once the diver reaches the anchor they will face upstream and open the bottle and fill it with water. The bottle will then be placed back into the BCD and the surface team will retrieve at the end of the dive.
Dissolved Oxygen*
The diver will first measure dissolved oxygen using a 15 cm probe at the substrate surface, 15 cm above the substrate, and 15 cm below the substrate (5 measurements at each within 1 sq. ft. surber area).
Substrate Compaction*
A diver will measure compaction of the substrate using a compaction measuring tool (5 measurements within 1 sq. ft. surber area). Diver will record data on a dive slate or call back data to surface via com gear.
Macro invertebrates / Zebra Mussels / Surface Unionid Mussels*
The first 5 cm of substrate will be disturbed and scraped into the 1 sq. ft. surber sampler (Figure 3). All surface unionid mussels and zebra mussels will be placed into an ultra-surber. The surber then will be closed and re-attached to the diver. The ultra-surber will consist of one square meter of sampling area and will be enclosed on three sides by 5 mm mesh netting. The walls and nets are all 1/3 of a meter in height.

Diver getting ready to deploy surber sample
Juvenile Unionid Mussels / Substrate Composition / Surface Unionid Mussels*
A diver will excavate a remaining 20 cm of substrate into a 5 gallon bucket. The diver will then return back down the transect line toward the anchor collecting all live mussels and dead shell material along the transect and placed in a labeled bag (3 m, 5 m, 7 m, 10m). The diver will then clip the bucket to the anchor line and pull in the 3 lb weight and transect line and place it into its appropriate bag. *Repeat for the three remaining vectors.
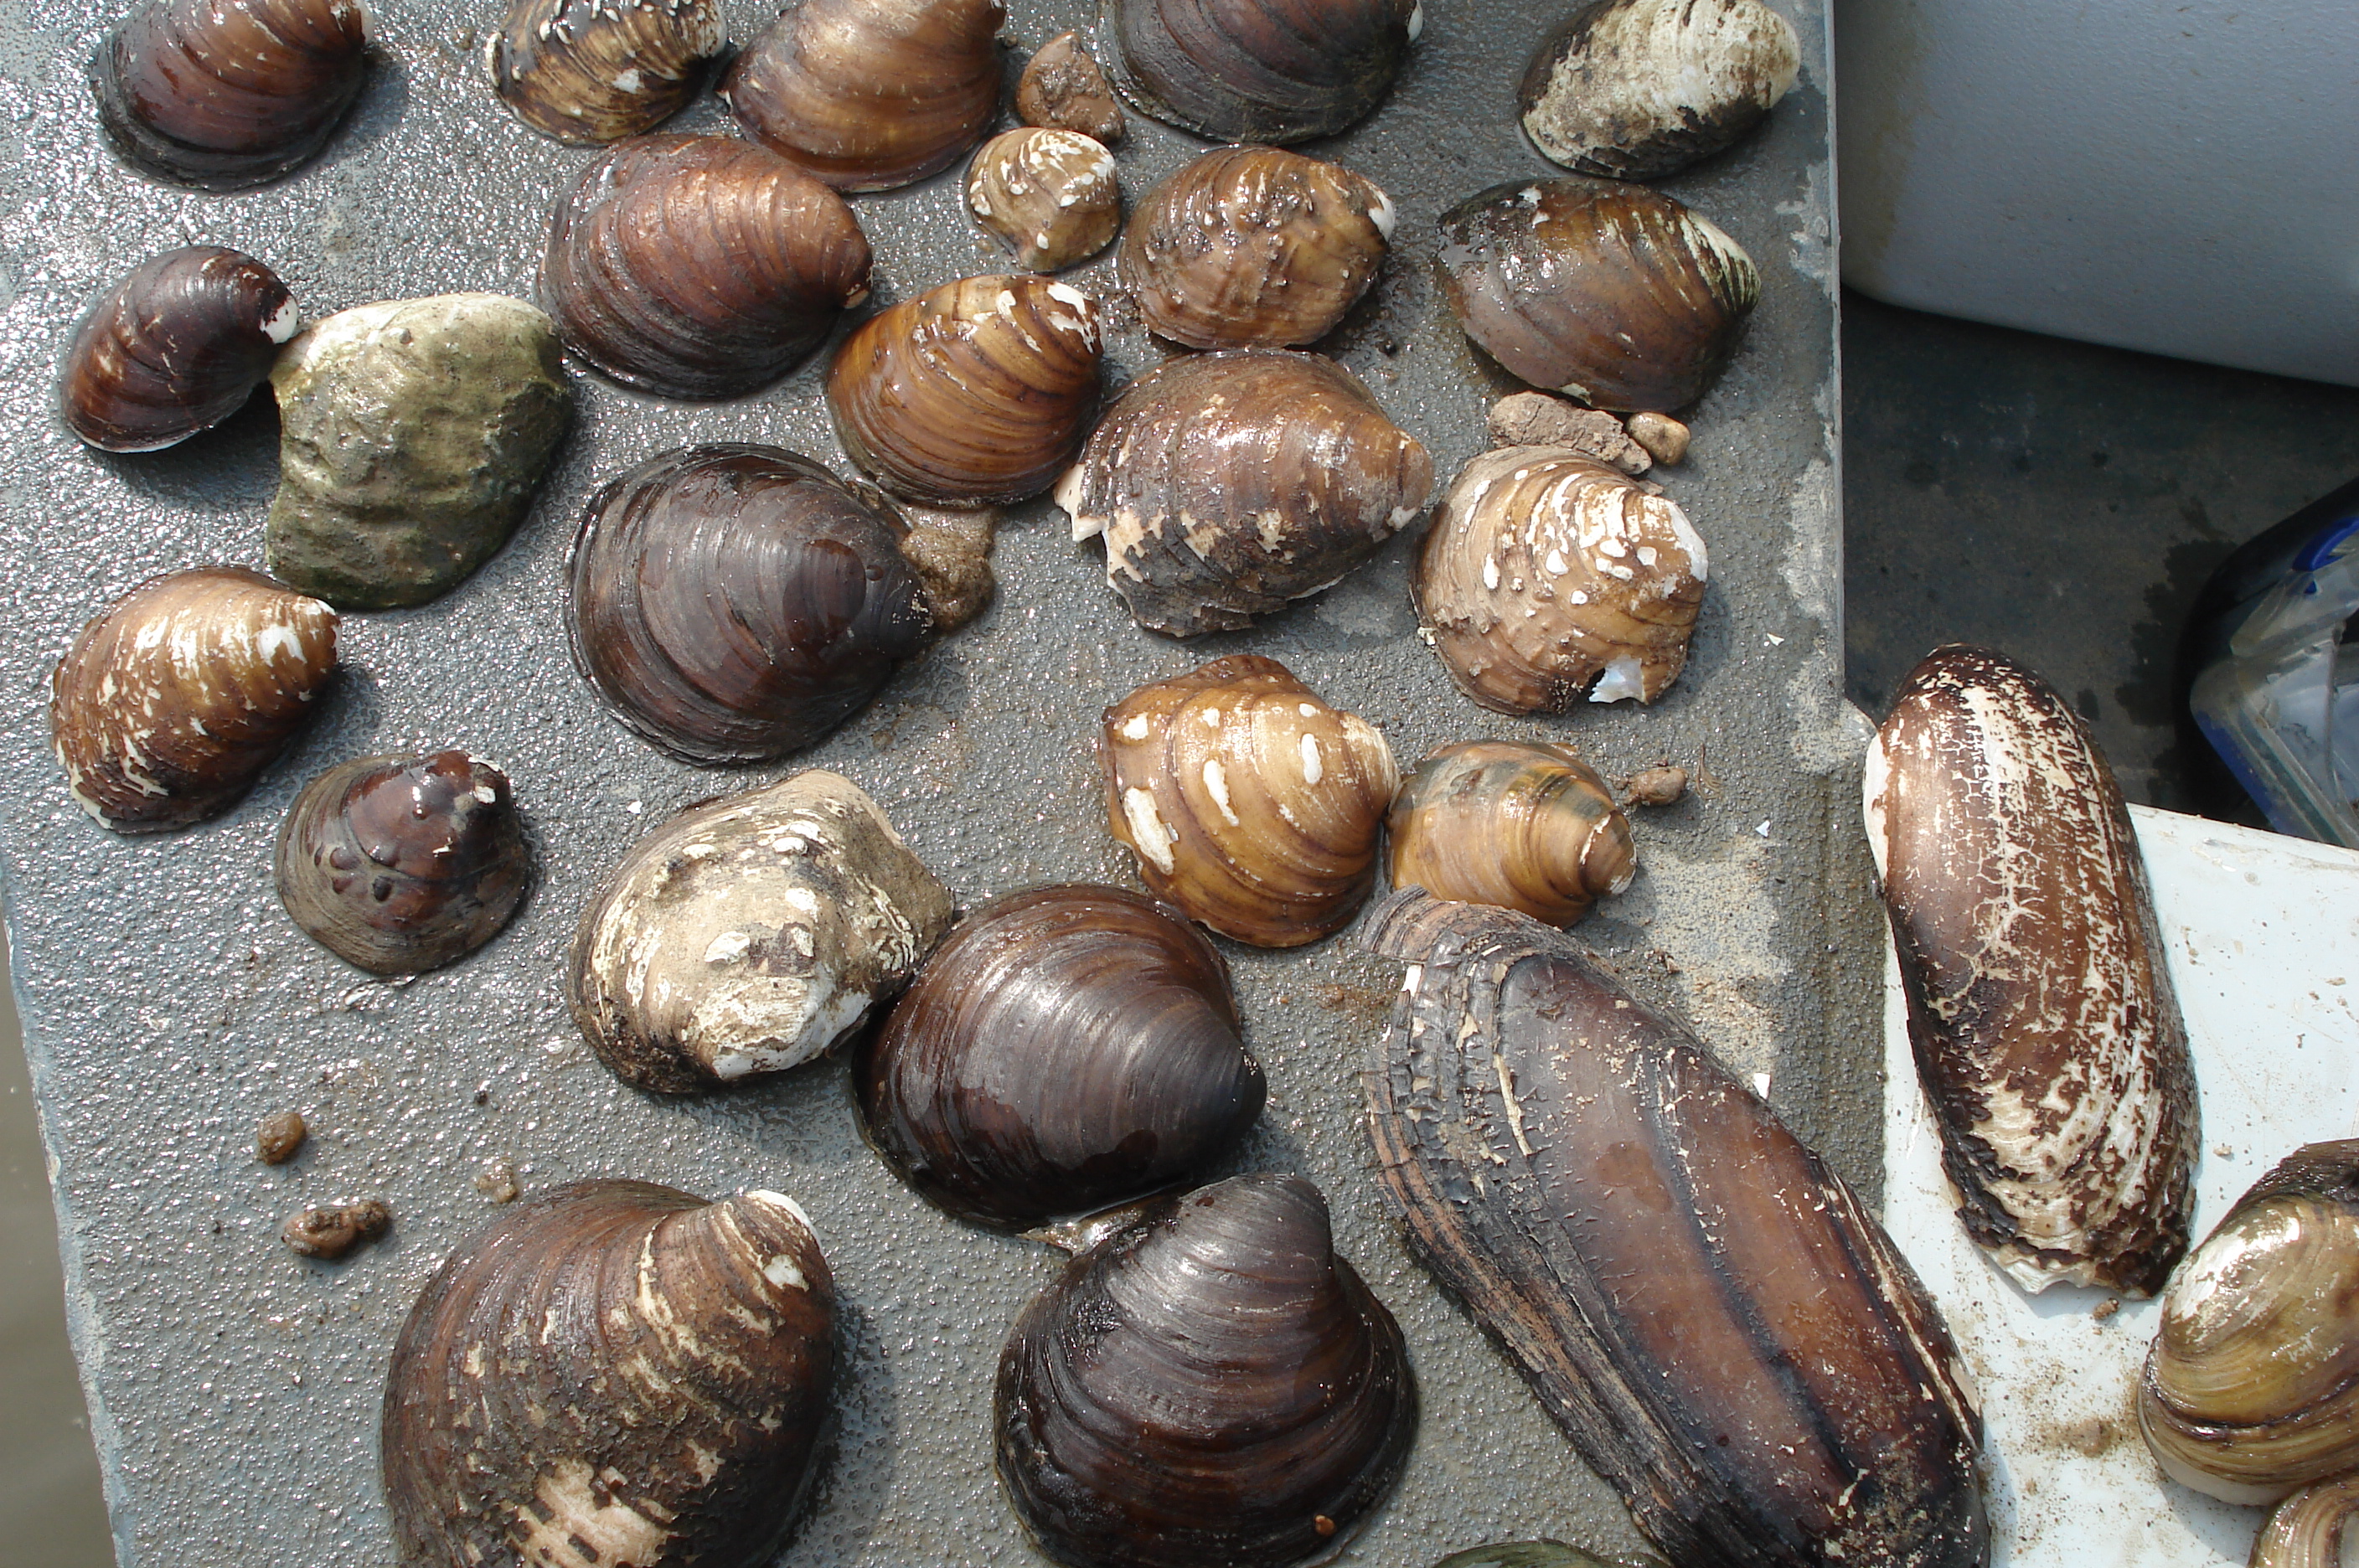
After finishing all 4 transects at each of the 4 vectors the diver will return to the anchor and clip the transect shells and full buckets to the anchor line and send them to the surface. The substrate will be placed in a sieve series via pump and weight of the three sieves. Live shells will be identified, photographed, weighted (wet weight), measured (length, depth and width), and returned to the river via broadcasting. Any Dreissena polymorpha (zebra mussels) or Corbicula fluminea (Asiatic clams) that are found will be scrapped off and kept with surber sample for future analysis
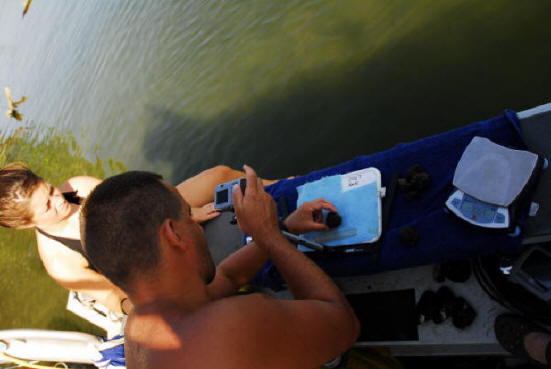
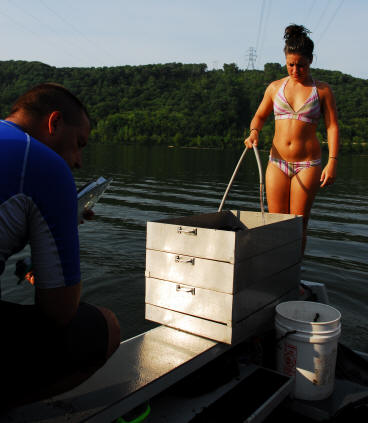

Dr. Jones weighing, measuring, and photographing some mussels sieve series
During the dive at the surface there will be a rescue diver at all times. Also the team at the surface will record the data on the diver through surface to subsurface communication gear.